# Deploy Silo on Windows
LLMS index: [llms.txt](/llms.txt)
---
- [Object Storage Essentials](https://www.youtube.com/playlist?list=PLFOIsHSSYIK3WitnqhqfpeZ6fRFKHxIr7)
- [How to Connect to MinIO with JavaScript](https://www.youtube.com/watch?v=yUR4Fvx0D3E&list=PLFOIsHSSYIK3Dd3Y_x7itJT1NUKT5SxDh&index=5)
This page documents deploying Silo onto Microsoft Windows hosts for development and evaluation.
Silo publishes Windows archives for x86-64 and ARM64. The current project CI runs on Linux and does not provide Windows runtime coverage, so the old upstream list of “officially supported” Windows releases has been removed. Validate the exact Windows edition, filesystem, service wrapper, and workload before relying on it in production.
The procedure includes guidance for deploying Single-Node Multi-Drive (SNMD) and Single-Node Single-Drive (SNSD) topologies in support of early development and evaluation environments.
This guide does not validate Multi-Node Multi-Drive (MNMD) distributed configurations on Windows hosts.
## Considerations {#considerations}
### Review Checklists {#review-checklists}
Ensure you have reviewed our published Hardware, Software, and Security checklists before attempting this procedure.
### Erasure Coding Parity {#erasure-coding-parity}
MinIO automatically determines the default [erasure coding](/operations/concepts/erasure-coding/#minio-erasure-coding) configuration for the cluster based on the total number of nodes and drives in the topology. You can configure the per-object [parity](/glossary/#term-parity) setting when you set up the cluster *or* let MinIO select the default (`EC:4` for production-grade clusters).
Parity controls the relationship between object availability and storage on disk. Use the MinIO [Erasure Code Calculator](https://min.io/product/erasure-code-calculator) for guidance in selecting the appropriate erasure code parity level for your cluster.
While you can change erasure parity settings at any time, objects written with a given parity do **not** automatically update to the new parity settings.
## Procedure {#procedure}
### 1. Download the Silo Binary {#download-the-minio-binary}
Download the Windows archive for your architecture from [Download & Install](/download/#server), verify it against the checksum published with the same release, and extract `minio.exe`.
The next step includes instructions for running the executable. Launch the server from PowerShell or the Command Prompt rather than by double-clicking it in Explorer.
### 2. Launch the MinIO Server {#launch-the-minio-server}
In PowerShell or the Command Prompt, navigate to the location of the executable or add the path of the `minio.exe` file to the system `$PATH`. computer.
**Multi\-Drive**
For Windows hosts with multiple drives, you can specify a sequential set of drives to use for configuring MinIO in the Single-Node Multi-Drive (SNMD) topology:
```text
.\minio.exe server {D...G}:\minio --console-address :9001
```
The [`minio server`](/reference/minio-server/#command-minio.server) process prints its output to the system console, similar to the following:
```shell
API: http://192.0.2.10:9000 http://127.0.0.1:9000
RootUser: minioadmin
RootPass: minioadmin
Console: http://192.0.2.10:9001 http://127.0.0.1:9001
RootUser: minioadmin
RootPass: minioadmin
Command-line: https://silo.pgsty.com/reference/minio-mc/
$ mc alias set myminio http://192.0.2.10:9000 minioadmin minioadmin
Documentation: https://silo.pgsty.com/docs/
WARNING: Detected default credentials 'minioadmin:minioadmin', we recommend that you change these values with 'MINIO_ROOT_USER' and 'MINIO_ROOT_PASSWORD' environment variables.
```
The process is tied to the current PowerShell or Command Prompt window. Closing the window stops the server and ends the process.
**Single\-Drive**
Use this command to start a local MinIO instance in the `C:\minio` folder. You can replace `C:\minio` with another drive or folder path on the local
```text
.\minio.exe server C:\minio --console-address :9001
```
The [`minio server`](/reference/minio-server/#command-minio.server) process prints its output to the system console, similar to the following:
```shell
API: http://192.0.2.10:9000 http://127.0.0.1:9000
RootUser: minioadmin
RootPass: minioadmin
Console: http://192.0.2.10:9001 http://127.0.0.1:9001
RootUser: minioadmin
RootPass: minioadmin
Command-line: https://silo.pgsty.com/reference/minio-mc/
$ mc alias set myminio http://192.0.2.10:9000 minioadmin minioadmin
Documentation: https://silo.pgsty.com/docs/
WARNING: Detected default credentials 'minioadmin:minioadmin', we recommend that you change these values with 'MINIO_ROOT_USER' and 'MINIO_ROOT_PASSWORD' environment variables.
```
The process is tied to the current PowerShell or Command Prompt window. Closing the window stops the server and ends the process.
### 3. Connect your Browser to the MinIO Server {#connect-your-browser-to-the-minio-server}
Access the [MinIO Console](/administration/minio-console/#minio-console) by going to a browser (such as Microsoft Edge) and going to `http://127.0.0.1:9001` or one of the Console addresses specified in the [`minio server`](/reference/minio-server/#command-minio.server) command’s output. For example, `Console: http://192.0.2.10:9001 http://127.0.0.1:9001` in the example output indicates two possible addresses to use for connecting to the Console.
While port `9000` is used for connecting to the API, MinIO automatically redirects browser access to the MinIO Console.
Log in to the Console with the `RootUser` and `RootPass` user credentials displayed in the output. These default to `minioadmin | minioadmin`.
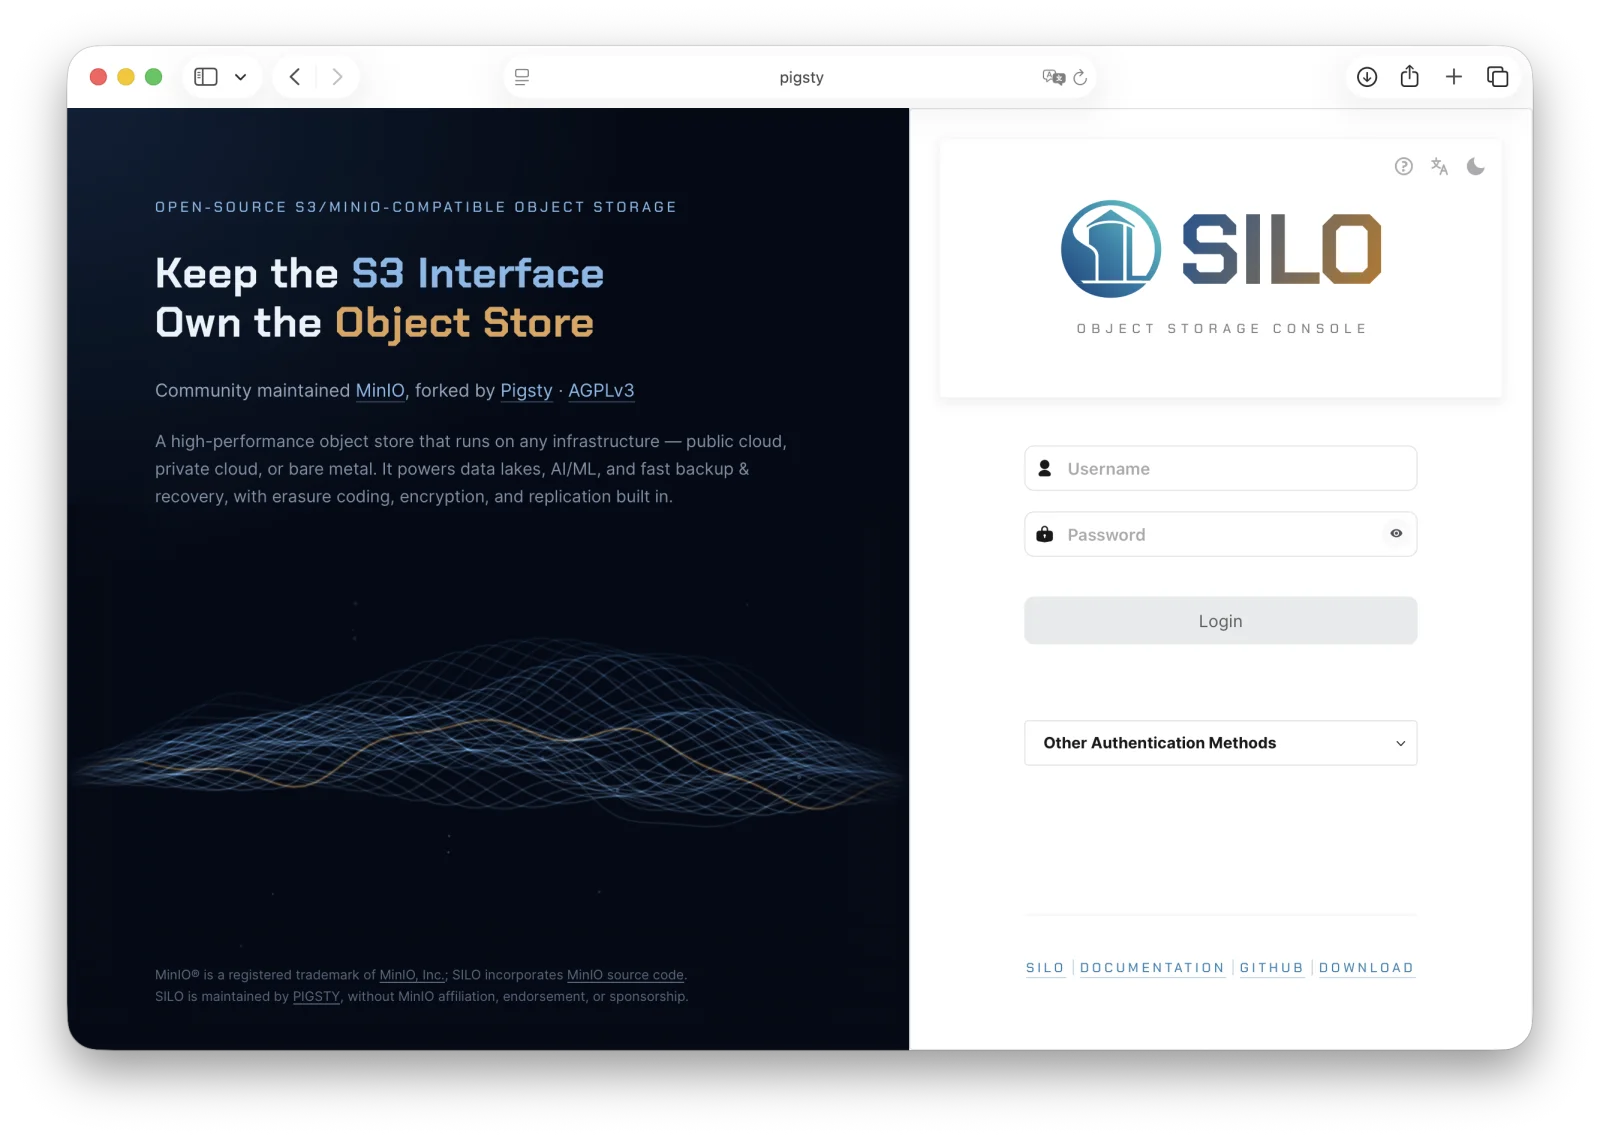 You can use the MinIO Console for general administration tasks like Identity and Access Management, Metrics and Log Monitoring, or Server Configuration. Each MinIO server includes its own embedded MinIO Console.
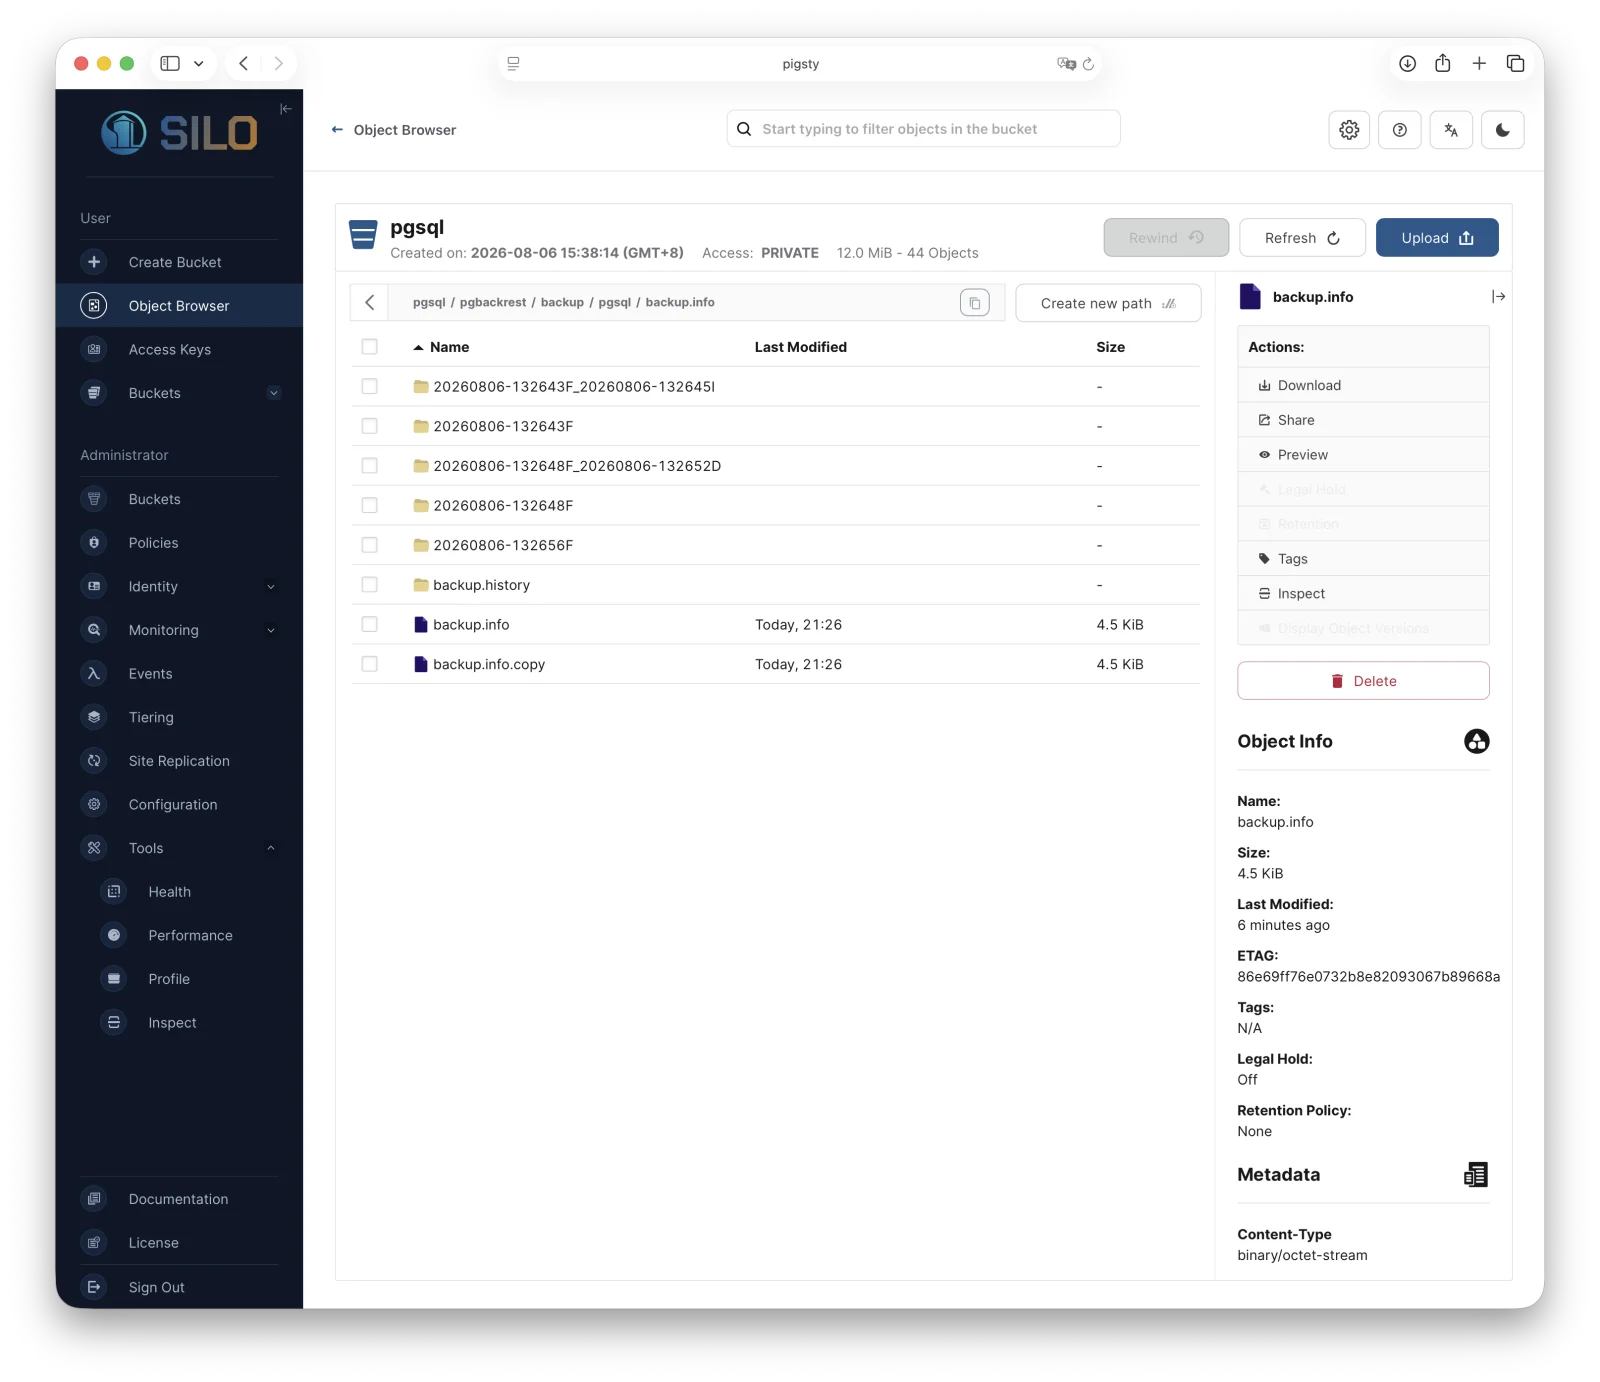 For more information, see the [MinIO Console](/administration/minio-console/#minio-console) documentation.
### 4. *(Optional)* Install the Silo Client {#optional-install-the-minio-client}
The [Silo client](/reference/minio-mc/#minio-client) allows you to work with the deployment from PowerShell.
Download the Windows client archive from [Download & Install](/download/#client), verify its checksum, and extract `mcli.exe`.
Run it from the Command Prompt or PowerShell:
```text
\path\to\mcli.exe --help
```
Use [`mc alias set`](/reference/minio-mc/mc-alias-set/#command-mc.alias.set) through the installed `mcli.exe` command to authenticate and connect to the deployment.
```shell
mcli.exe alias set local http://127.0.0.1:9000 minioadmin minioadmin
mcli.exe admin info local
```
The [`mc alias set`](/reference/minio-mc/mc-alias-set/#command-mc.alias.set) command takes four arguments:
- The name of the alias
- The hostname or IP address and port of the MinIO server
- The Access Key for a MinIO [user](/administration/identity-access-management/minio-user-management/#minio-users)
- The Secret Key for a MinIO [user](/administration/identity-access-management/minio-user-management/#minio-users)
For additional details about this command, see [mc alias set](/reference/minio-mc/mc-alias-set/#alias).
### 5. Next Steps {#next-steps}
- [Enable TLS](/operations/network-encryption/enable-minio-tls/) before exposing the service beyond a trusted development network.
- Replace the example credentials and create least-privilege users through [Identity and Access Management](/administration/identity-access-management/).
- Configure [monitoring and alerting](/operations/monitoring/) before relying on the deployment for persistent data.
For more information, see the [MinIO Console](/administration/minio-console/#minio-console) documentation.
### 4. *(Optional)* Install the Silo Client {#optional-install-the-minio-client}
The [Silo client](/reference/minio-mc/#minio-client) allows you to work with the deployment from PowerShell.
Download the Windows client archive from [Download & Install](/download/#client), verify its checksum, and extract `mcli.exe`.
Run it from the Command Prompt or PowerShell:
```text
\path\to\mcli.exe --help
```
Use [`mc alias set`](/reference/minio-mc/mc-alias-set/#command-mc.alias.set) through the installed `mcli.exe` command to authenticate and connect to the deployment.
```shell
mcli.exe alias set local http://127.0.0.1:9000 minioadmin minioadmin
mcli.exe admin info local
```
The [`mc alias set`](/reference/minio-mc/mc-alias-set/#command-mc.alias.set) command takes four arguments:
- The name of the alias
- The hostname or IP address and port of the MinIO server
- The Access Key for a MinIO [user](/administration/identity-access-management/minio-user-management/#minio-users)
- The Secret Key for a MinIO [user](/administration/identity-access-management/minio-user-management/#minio-users)
For additional details about this command, see [mc alias set](/reference/minio-mc/mc-alias-set/#alias).
### 5. Next Steps {#next-steps}
- [Enable TLS](/operations/network-encryption/enable-minio-tls/) before exposing the service beyond a trusted development network.
- Replace the example credentials and create least-privilege users through [Identity and Access Management](/administration/identity-access-management/).
- Configure [monitoring and alerting](/operations/monitoring/) before relying on the deployment for persistent data.